I have wanted a tough old banger welding
& work table for a long time now so I have been hauling home bits & pieces
for a good while. Most of my materials were scrap bought for 10 cents a
pound or scrounged except for the wheels and the 3 x 3 angle iron frame
immediately under the top. The legs came from a junked-out engine hoist
that I found at the scrap yard - 2 1/2 x 2 1/2 square tube. The top is a
piece of 1/2 inch plate 30 1/2 inches x 61 1/2 inches. David Baker gave it
to me when I bought the old Campbell Hausfeld compressor from him last
fall. One long side has been torched so it is rough and the surface was
badly pitted on one side and pretty beat up on the other but it is still
relatively flat and it is app. 275 lbs of table top for FREE. I figure the
whole thing weighs somewhere around 350 lbs & I have about $75 max
invested in it, but quite a bit of time invested in cleaning rust of the
critical areas & in cutting the parts to suit me.
Once I had the legs & angle iron welded together, I
flipped it over and tried it out for plumb for the first time. Shop
assistant Jake defends the perimeter with ruthless vigilance. All four legs gripped the ground without
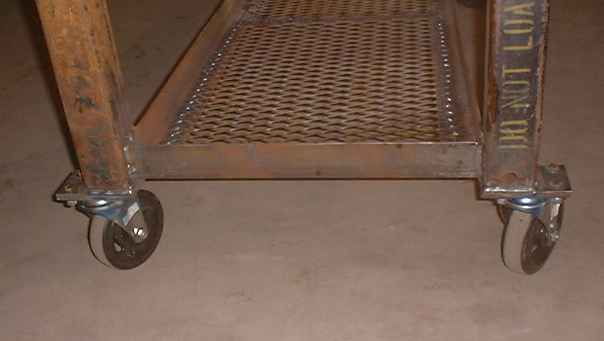
any wobble so I decided it was time to figure out how to attach the swivel
casters. They are the Harbor Freight cast iron wheels with hard rubber
tires, rated at 330 lbs each. I think they cost $6.99 each & they may be a
mistake; that mostly depends on how successful I will be in coming up with
a way to lock them when I want the table to be stationary. But because of
the small size of the shop versus the huge pile of stuff I have in storage
to move in here, I have to have most of my benches mobile.
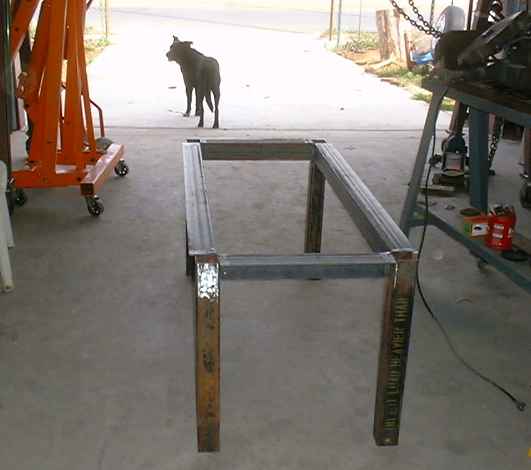
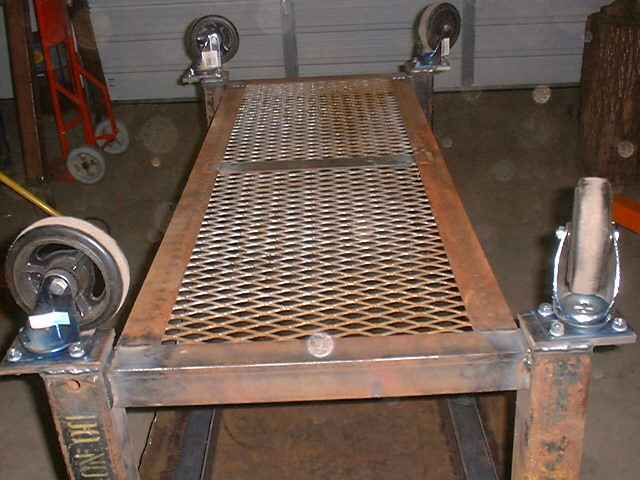
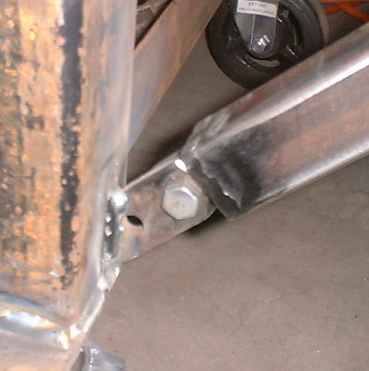
So I welded the footplates to the legs then proceeded to install the lower stretcher & shelf, then bolted on the wheels. Here you can see what I meant by "wide footprint"; the axles of the swivels are outside the center of the legs. I didn't want any chance of this sucker tipping on me.
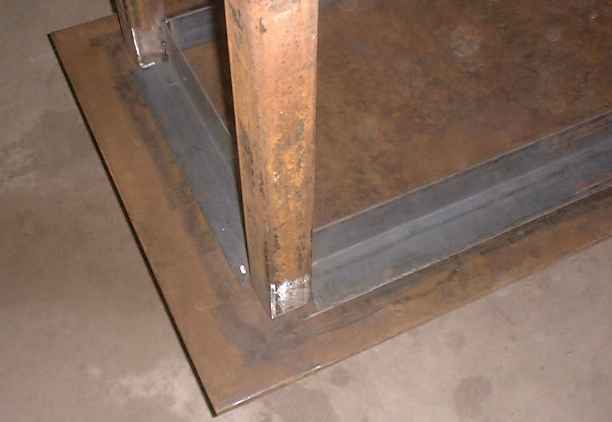
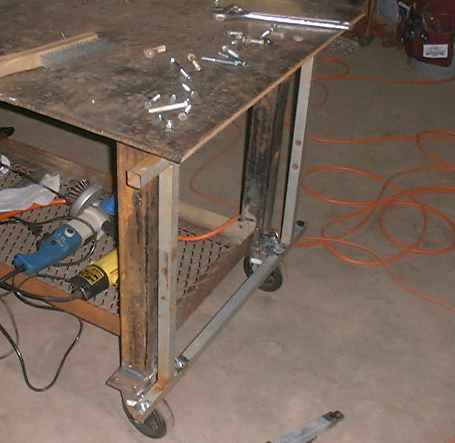
So finally I had the table base & toolshelf on casters. I flipped the plate & cleaned it off somwhat, especially where the frame attaches to the plate, then flipped the frame back on top of it.
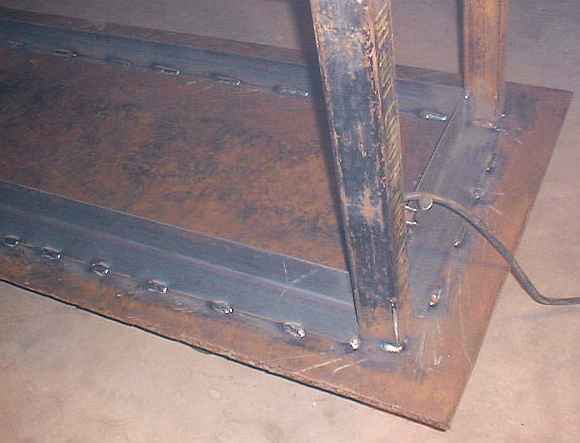
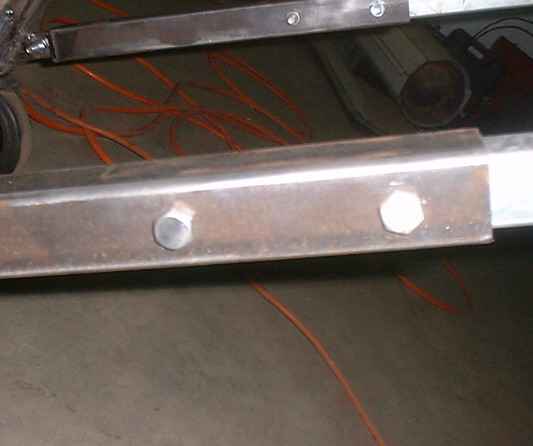
I built the base so that the top would overlap the angle iron frame by about 3 inches on the sides and 4 inches on the ends to allow for clamping later on. And I began tacking the top to the plate with 2 - 3 inch beads around the outside first then repeated the process on the inside of the frame. (Sorry for the crappy pictures here; my camera batteries were going down & I didn't realize it soon enough.)
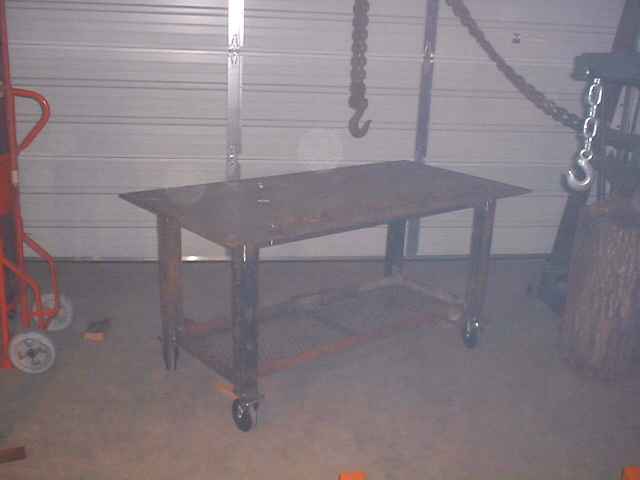
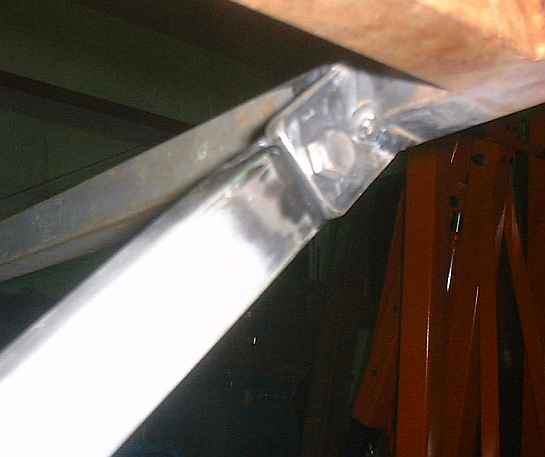
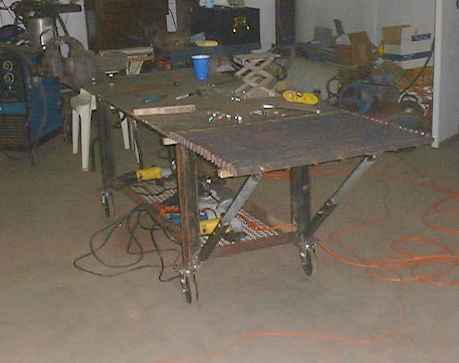
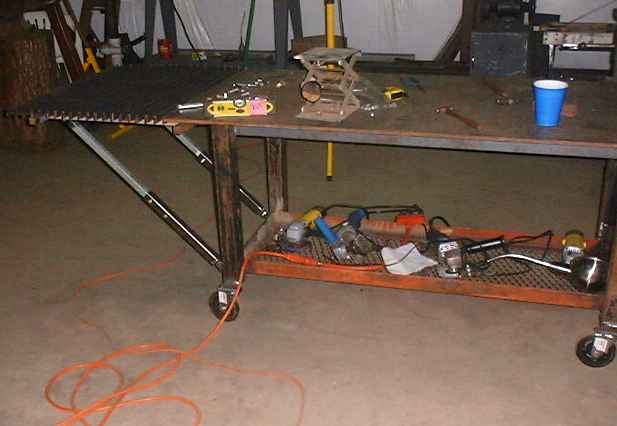
Well, this is where I finally had myself painted into a corner; I had 350 lbs of welding table lying upside down on a dolly 7 inches off the floor and no Slagking present to turn it over for me. I had drilled a pair of 3/8ths inch holes on one edge of the top earlier so I could bolt a chain to the top to turn it over with my engine hoist & that was how I planned to turn the entire thing over at this point but upon futher review, I realized this was going to have to be a more elaborate process. And it evolved into a 2 hoist job.
I used the a-frame hoist to lift the table into the air, then wrapped another chain around the downside legs and turned it upright with the HF engine lift. Then I was able to lower both hoists alternately until the wheels were on the floor. Again, I apologize for the crappy picture quality, but here she sits and there will be better pictures later because I have this wonderful old Charles Parker vise to install next, in its own thread.
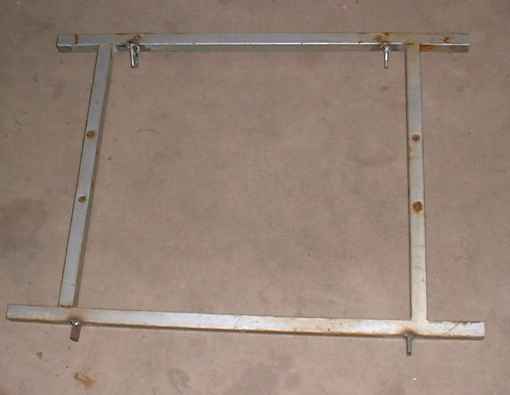
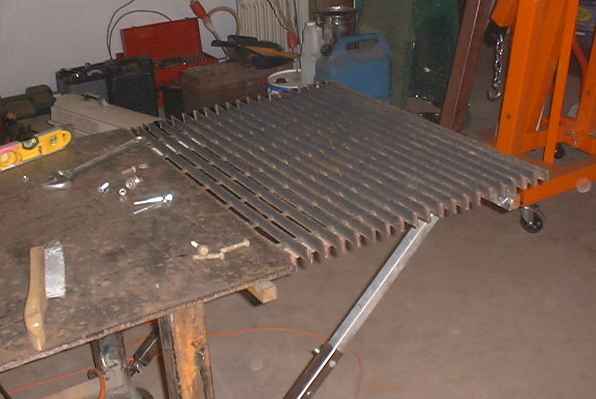
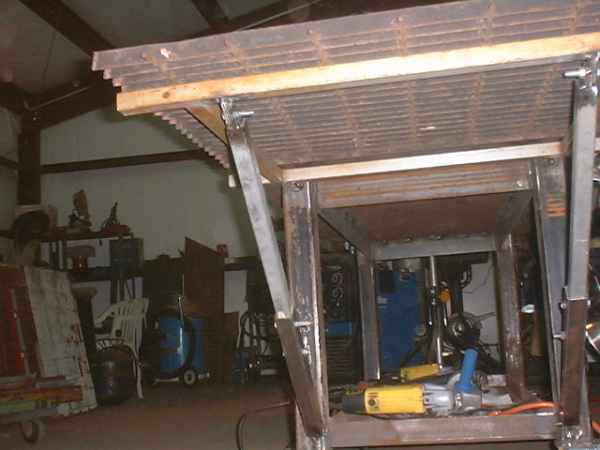
I wanted to add a removable cutting grate & maybe come up with some way to make it serve other purposes too. So I started poking around through my little pile of junk & noticed this little frame, made of 1 inch thinwall tube.
Now, you have to ignore those little
tabs welded to it; they were added later.
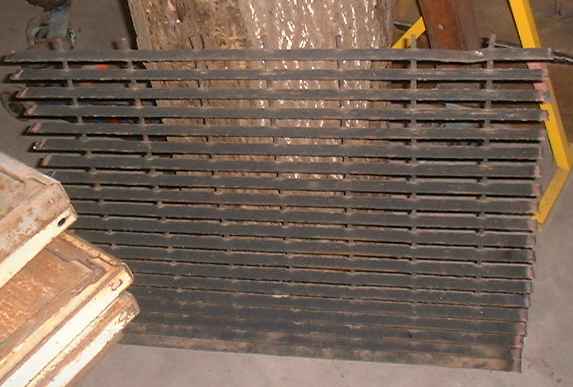
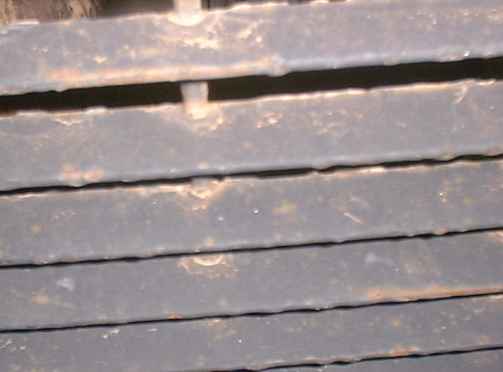
The grate presents some problems; first, it is bowed
a little bit but I think I can beat it into a reasonably flat plane, good
enough to use for torching. The second thing is that it appears to me that
some Alabama good ol 'boy redneck musta gotten to it before me because it
had a gloppy coat of something like that WalMart Professional Grade Paint
clumped up all over it but I am hopeful of getting Lupe over at the
radiator shop to dump in his vat overnight & strip that tar off of it for
me. Then I started chopping up a stick of
garage door opener arm - you know, that 1 inch flat bar with a hole
drilled every inch. Those holes just happen to be 5/16ths & just right for
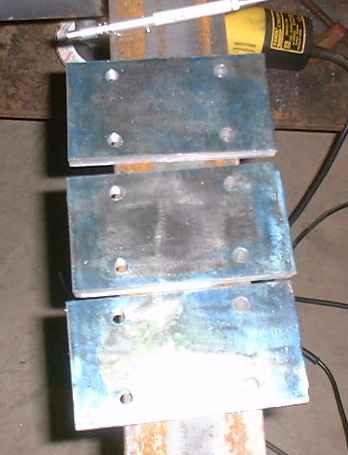
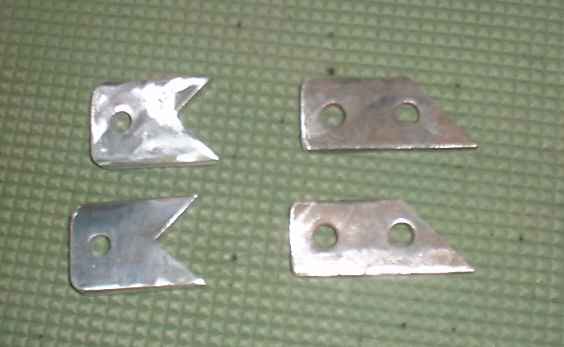
what I had in mind. One stick of it made all the bolthole tabs I needed
except for the final two on the outboard edge of the frame. My approach to
this was to make a sort of a table wing that normally hangs down out of
the way, supported by a pair of struts when I want to use the grate. So I
needed several bolthole tabs to weld onto the struts, the wingframe or to
the table.
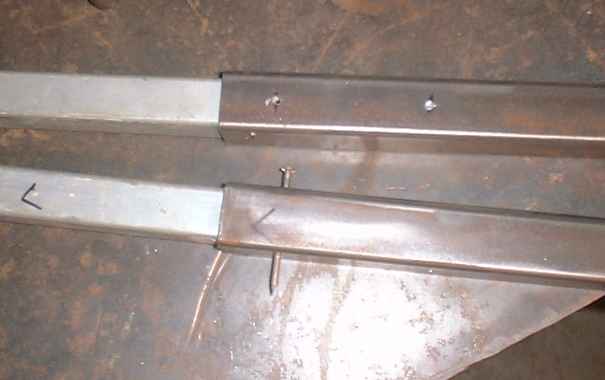
Most of them were square or rectangular, but some of them had to complement the angle of the struts which is roughly 45 degrees. The 2 with the V-shaped cuts went on the outside of the wing & I had to make them out of second piece of strap; the 2 45's went on the legs, at the bottom.
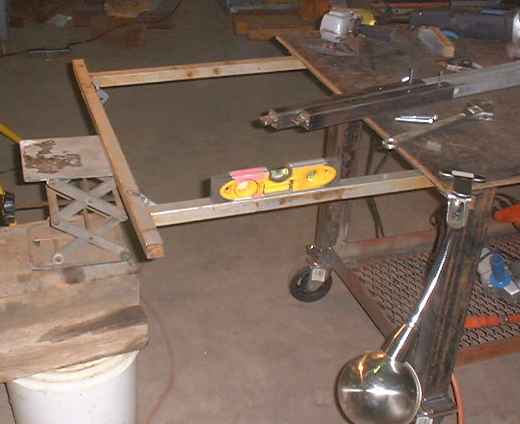
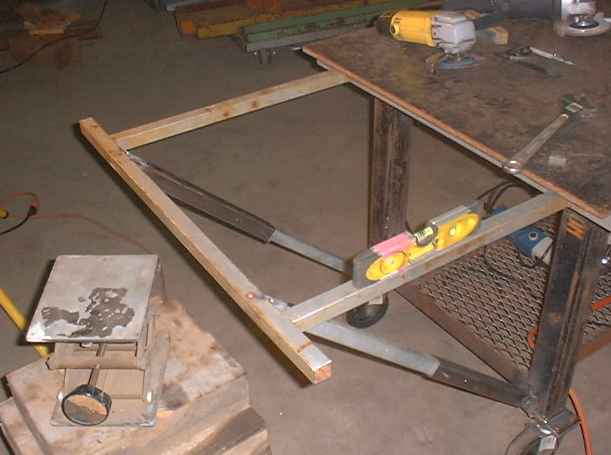
So I wound up with the wingframe hanging down under one end of my table. So far so good.
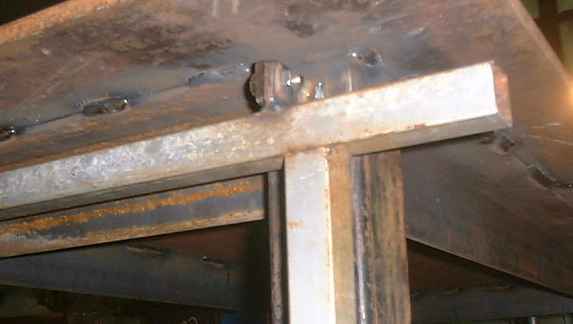
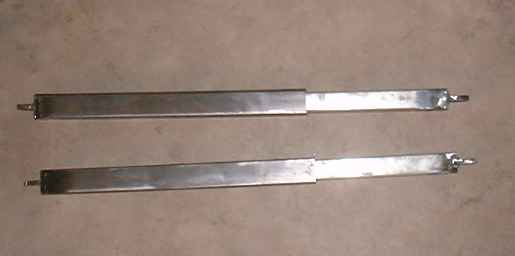
Time to make the struts. Now, I considered using some angle iron cut to length with a hole drilled in each end, but what fun is that? Besides, I considered the length to be kinda critical & I also wanted to wind up with something that is easy to store so I settled on the idea of collapsible struts made from 2 different sizes of square tubing. Quite a bit more work, of course but they have the additional advantage of allowing me to fit them up before I fixed the final length. I used some 1 inch tubing inside 1 1/4 in tube with end caps & bolt tabs welded to the ends.
Then I set up my little Edmund Scientific scissorjack & leveled the wingframe so I could fit up the struts.
I bolted the struts into place & scribed the line where the outer tube ended against the smaller tube. Oh yeah, I also marked them "L" & "R". Then it was off to the drill press. I drilled two 1/8th inch pilot holes through the outer 1 1/4" tubing, inserted the 1 " tube up to the scribe lines and drilled one hole all the way though. I slid 12 penny nails though the holes to lock the length of each strut & checked the fit to see if I was getting them right.
While I was at it, I tried them turning them different ways to see if I like one better than the other; didn't seem to make any difference.
The length looked good so I drilled the other holes to 5/16ths" all the way through both struts & stuck in the bolts & locked them down. Then I pulled the nails, drilled those holes out to 5/16ths & installed the other pair of bolts.
So finally, I bolted it all together & laid the grate on top of the wing. Here's how it looks:
My original table is just over 5 feet long so this addition gives a total of 7 feet when I need it. I could easily replace the grate with other materials if I wanted to & I have enough lightweight catwalk to replace this grate one time after it gets too beat up.
Oh yeah, I used whatever bolts I had
lying around handy so some of them were too long. I bought more yesterday
& will correct that later. More on the purpose of the collapsible struts
some other time. I'm tired!
|